
FAQ #1: MOTA engine data files cannot be opened to edit them, or will not run in the MOTA engine simulator.
Solution: This is often a simple problem that is to do with your computer and how it saves things. If you can look at data files in a text editor, select one of the samples that you have not opened already, maybe TM125.DAT and look at the last 6 or 7 lines and note down the numbers and letters, especially the text line “TM125 run under MOTA v6.00″ . Then open this file with MOTA and save it under a new name , close it and reopen the file you just saved in your text editor. The numbers I expect now to be separated all by commas, ” , ” , and no full stops in there EXCEPT the line with TM125 …. v6.00
If this is what happened then your computer is set to save numbers in the European convention with a comma as the decimal point , where in MOTA we use a full stop. All of the numbers will be saved this way and then MOTA cannot recognise the file. The test is that it saved the line TM125 …. v6.00 and retained the full stop – because this is recorded by MOTA as text and not a number so your computer just accepted the full stop as a full stop !!
To change your computers settings so MOTA will run click START, then Control Panel, then Regional Settings and then Customize. The first selection is Numbers and the top item is the Decimal – if you change this from a comma to a full stop and then save the settings as you exit out of all of this, it will change your computer’s settings to suit MOTA and should not change the way you work in any other program.
FAQ #2: MOTA engine data files cannot be accessed after saving them under a new name.
Solution: The original MOTA versions 4 and 5 were written in DOS, and this allowed only 8 digit file names. The later versions 6.xx are fully Windows based , however there is a restriction that filenames it recognises can only be made up of letters and numbers. We recommend that you do not use any characters in an engine data file name, and then they will always work within MOTA. And NEVER use spaces in an engine data file name as that will make it unrecognisable to MOTA.
FAQ #3: If you have a MOTA version 6.00 or earlier , and some version 6.10 , and it will not run on Windows 8 or 10, then the hardlock dongle is unable to operate on your system.
Solution: The only solution is to upgrade to the latest version of MOTA where a newer style driver-less dongle is supplied that can be run on a computer with any Windows version.
Below are the contents of the Readme on the earlier version MOTA CD’s and USB’s relating mainly to installation issues.
MOTA v6.10 Readme File
This document provides late-breaking or other information that supplements the MOTA v6.10 documentation.
UPGRADE INFORMATION – MOTA v6.10 (November, 2003)
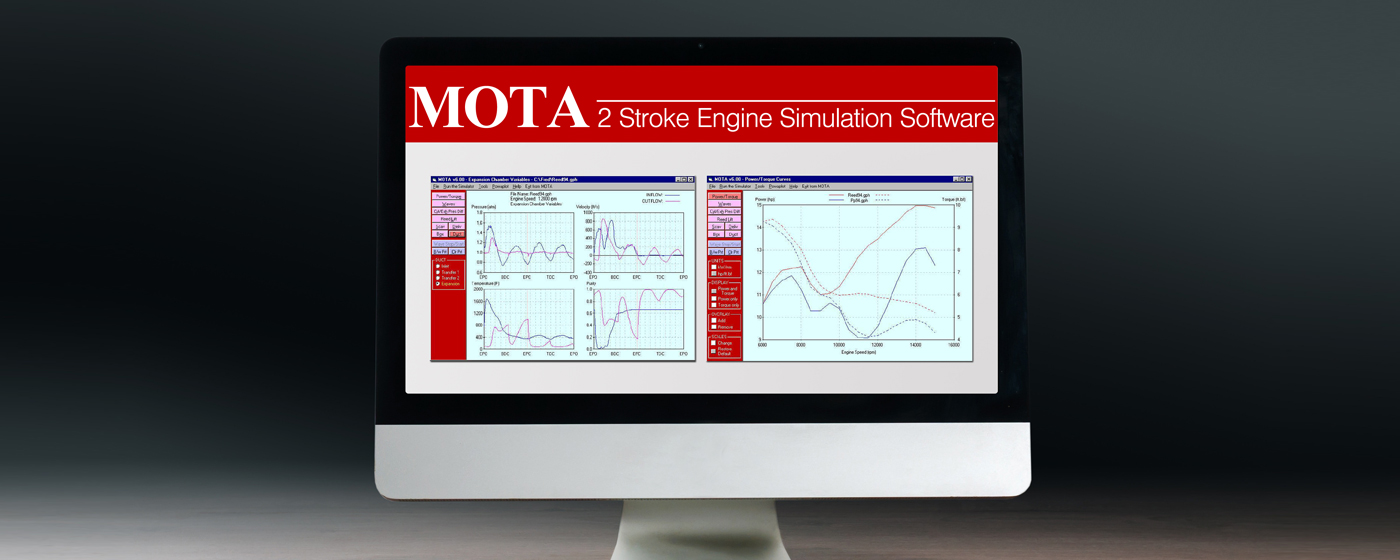
Power/Torque Curves Cursor Bar
The display of Power/Torque curves has been enhanced by the inclusion of a vertical cursor bar which extends over the entire height of the plotting area and whose position can be controlled by the mouse. Where the bar intersects each curve a horizontal cursor is drawn and, to the right of the plotting area, the corresponding power and torque values and the engine speed are displayed.
Refer to the last paragraph of section 6.1 of the MOTA v6.10 User Manual for further details.
Additions to the Expansion Chamber Construction Utilities
The Expansion Chamber Construction utilities have been extended considerably and are now accessed under a separate item on the Main MOTA Menu. A sub-menu offers the two selections “Constructing the Development Pattern of a Cone” and “Printing the Development Pattern of a Cone”. It is the options provided under the second selection which have been added to MOTA. You can now print the development pattern of a cone and this may extend over several A4 pages. Of particular note, you can produce the pattern of a cone having either end or both ends angled to the cone axis. A set of explanatory diagrams with text can be displayed. You may also define a single straight cone and print the patterns of each of the pieces which, when welded together, will provide an equivalent bend section. The number of pieces and the overall bend angle are entered through the keyboard. A MOTA engine data file may also be accessed and the pattern of each section of the expansion chamber printed. Alternatively, any one section may be selected and patterns suitable for the construction of an equivalent bend section printed.
Section 9 of the MOTA v6.10 User Manual provides full details of these utilities.
IMPORTANT: WINDOWS XP and 2000 USERS (January, 2002)
Windows XP and Windows 2000 have a slightly different generic folder structure than previous releases which prevents the normal MOTA automated installation procedure from installing some files. Specifically, the Word 6 document version of the MOTA User Manual cannot be installed, and the icon which is installed on the desktop of Windows 95/98 and Windows ME does not appear. To remedy these problems it is strongly suggested that users perform the following operations before installing MOTA v6.10.
Create a folder on the C: drive with the name “My Documents”, if one is not already present. To do this, double-click on “My Computer” and then on “Drive C”. Right-click your mouse and select “New” and then “Folder”. You will see that a new folder has been created with the default name “New Folder” which is highlighted. Set the cursor on the “r” of “Folder”, backspace to wipe out this name, type “My Documents” and then press the “Enter” key. You have now created the folder into which the Word 6 document version of the MOTA User Manual will be installed.
Exit this “Readme” and Exit from the MOTA Installation Screen. Click on “My Computer”, then right-click on your CD drive (eg on “Drive H” if H: is your CD drive) and choose the “explore” option. You will now see the various folders on the CD. Click on the “mota600\motaicon” folder, and you will see one icon. Left-click on this and hold the mouse button down, dragging the icon across onto your desktop. This icon is set to point to the default installation folder: C:\mota600\bin. If you intend installing MOTA in a different folder, you must change this by right-clicking on the desktop icon, selecting “properties” and changing the displayed path.
Double-click on the drive in “My Computer” in which the MOTA CD has been placed and now install MOTA as described below.
ALL USERS (January, 2002)
As well as the html version of the MOTA manual being placed in the sub folder “mota600\manual” of the MOTA CD, the Word 6 document version of the manual, Motaman.doc, has also been placed there.
INSTALLATION OF THE MOTA SOFTWARE (January, 2002)
MOTA cannot be run from a CD, it must be installed on a hard drive.
When you place the MOTA CD in your CD drive, it should display a screen which prompts for the automated installation of MOTA. This should appear automatically. If it does, go to the section “Automated Installation” but if it does not, go to the section “Non-Automated Installation”.
Automated Installation
Click the MOTA install button and the MOTA software will start to load. Initially, a set of library files essential for running MOTA is loaded. On some computers, you will be told that some of these files are newer than those currently on your machine, and/or prompted to re-boot your computer so that the newer versions can be installed properly. If you are asked to reboot your computer, click the MOTA install button again. Some of the prompts may seem the same as on your first attempt, but this is normal. In some very rare cases, you may be asked to reboot your computer a third time. If this occurs, follow the instructions in the Non-Automated Installation section below.
After installation of the essential libraries, the MOTA software proper is loaded. Respond to the dialogue boxes presented to you and the MOTA software will be installed into a folder of your choice. You are then asked if you wish to load the hardlock drivers. Unless you are sure that you have already loaded this software, you must allow the installer to load it. You should now be able to run MOTA (see “Running MOTA” below).
Non-Automated Installation
The non-automated install proceeds in three stages. Please follow the installation steps given below in the order that they are given:
MOTA requires an external set of libraries. To install these, move to the “\mota600\motalib” folder of your CD, and double-click on “vbrun60sp4.exe”. In some cases, you may be prompted to re-boot your computer. Do this before carrying out the next step of the installation. On some very old computers, after this re-boot, you may be asked to do additional re-boots. If this occurs, please contact your distributor for additional advice.
Move to the folder “\mota600\motainst” of your CD and double-click “setup.exe”. Respond to the dialogue boxes presented to you and the MOTA software will be installed in a folder nominated by you.
Unless you already have the Aladdin hardlock drivers installed on your machine, you must install them. To do this, move to the “\mota600\dongle” folder of your CD, double-click “hldrv32.exe” and respond to the simple prompts.
RUNNING MOTA (January, 2002)
Plug the dongle into one of your computer’s USB ports or into the parallel (printer) port, according to the type of dongle supplied with your copy of MOTA. You may now run MOTA in any one of the following three ways:
When the MOTA software is installed and a red MOTA icon is placed on your desktop double-clicking this will run MOTA.
Click “Start”, and then “Programs” and you will see a list of applications installed on your computer. Amongst these will be “MOTA v6.10”, which you can select to run the software.
Using Windows Explorer, navigate to the “bin” sub-folder of the folder in which you installed MOTA (C:\mota600 is the default folder, but you may have changed this during the installation procedure). Double-click on “MOTA.EXE” and MOTA will run.
ACCESSING THE MOTA MANUAL (January, 2002)
The MOTA manual may be accessed in three different ways:
From the installation CD, either by clicking the “USER MANUAL” button from the automatic install screen, or navigating to the “\mota600\manual” folder of the CD and double-clicking “Motaman.htm”. The manual will appear in your default web browser and you will be able to move to any section by clicking the coloured hyperlink at the end of the appropriate section heading in the contents.
During the installation, a Microsoft Word 6 version of the manual (called “Motaman.doc”) is copied to your folder “C:\My Documents”. You may access this by navigating to that folder and double-clicking the icon associated with the file. Because it is exported as a Word 6 file, WordPad, which is installed with all versions of Windows, will read it.
Once in the MOTA environment, select the menu items “Help”, then “User Manual” and you will be able to browse the manual whilst running MOTA. Should this facility fail to work you will need to update your version of Internet Explorer to a version number greater than 4.05, or alternatively, your Netscape version to a version number greater than 4.5. These browsers are available free. Possible sources include CD’s accompanying personal computer magazines and the download sites associated with Microsoft www.microsoft.com and Netscape www.netscape.com respectively.
PRINTER INSTALLATION (January, 2002)
MOTA uses many printer functions internally and will not work unless you install the driver software for a printer. You do not need to have a printer but you do need to have the software installed to drive one. Printer drivers come on your operating system’s set-up CD. If you do not have a printer, consult your operating system’s “Help” menu to see how to install a driver. During the installation process you will be asked to select from a list the name and model number of your printer. If you do not have a printer you may choose any printer driver and one combination known to work is “Hewlett Packard Laserjet III”. When asked if you would like to print a test page, respond “no” if you do not have a printer, and then exit the install screen.
MOTA version 6 DEMONSTRATION SLIDE SHOW (January, 2002)
If you are able to carry out an automatic install, you will notice a button with the caption “MOTA DEMO”. Clicking this button will display a series of slides and accompanying explanations which highlight the most important features of MOTA.
This demonstration does not require the dongle – you may lend this to anyone else and they can see this themselves on their computer without use of the dongle.
You must be logged in to post a comment.